Hello World 1, generating test data in CSV format
The first example shows how CSV test data can be generated with FlowHeater.
Choose Adapter
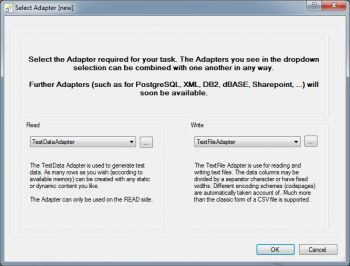
Start FlowHeater and select the menu option File->New. The following popup will apear:
Select from the dropdowns the TestData Adapter for the READ (left) side and the TextFile Adapter for the WRITE (right) side, as illustrated, and confirm by clicking the OK button.
Configure Adapter
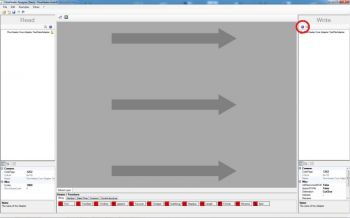
The main window of FlowHeater will appear as in the figure on the right. Now click on the Configurator (marked here in red) for the WRITE Adapter to open the popup window for the Adapter configuration. Alternatively, you can also open the configuration window with a right mouse click on the entry TextFileAdapter to open a context menu and then select the "Configure" option.
Specify CSV file name
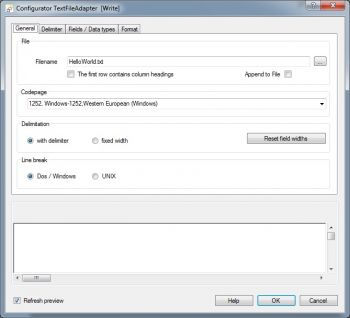
As Filename simply enter "HelloWorld.txt" and close the popup by clicking OK. Next use a right mouse click on the entry TextFileAdapter to open the context menu. Within the context menu select the option "Insert field". Repeat this action to insert another field. The result should be that you now have two entries in the fields list, "NewColumn1" and "NewColumn2".
Adopt CSV field names
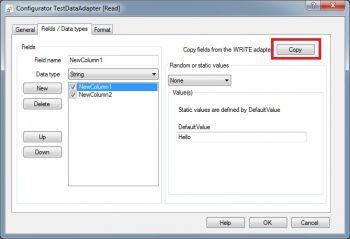
Next open the Configurator on the left (READ) side (using the context menu or by clicking the blue cogwheel icon) and select in the popup the "Fields / Data types" tab for the TestData Adapter. Confirm by clicking the "Copy from Write Adapter" button (marked in red) to replicate the fields you just defined in the WRITE Adapter into the READ Adapter.
Now click on the NewColumn1 field to highlight it and in the section headed Value(s) enter under Default Value the text "Hello". Thereafter, click on the NewColumn2 field and enter as Default Value the text "World". Terminate the popup by clicking on OK.
Connect fields
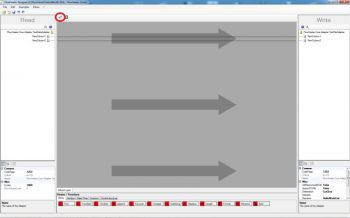
Drag with the mouse the NewColumn1 field on the READ Adapter and drop it on the NewColumn1 field on the WRITE Adapter. Now drag the NewColumn2 on the WRITE Adapter to the NewColumn2 field on the READ Adapter (this shows you it is possible to connect them in both directions). Your Designer screen should now look like the illustration above.
Execute Definition
Now click on the Execute button (marked in red) and inside the Test and Execute popup that results click on the "Start Definition" button. The integrated text viewer on the TextFile Adapter will open and show lines of text as follows.
Hello;World
Hello;World
...
Hello;World
Hello;World
The result will consist of 1000 identical lines. Congratulations, you have managed to compose and run your first FlowHeater Definition. Save the Definition with the label "HelloWorld1", this will actuall create a filename of "HelloWorld1.fhd" on your disk.
Note: Actual output to the filename "HelloWorld1.txt" is only performed when you uncheck the option "Test run" in the Test and Execute popup.
